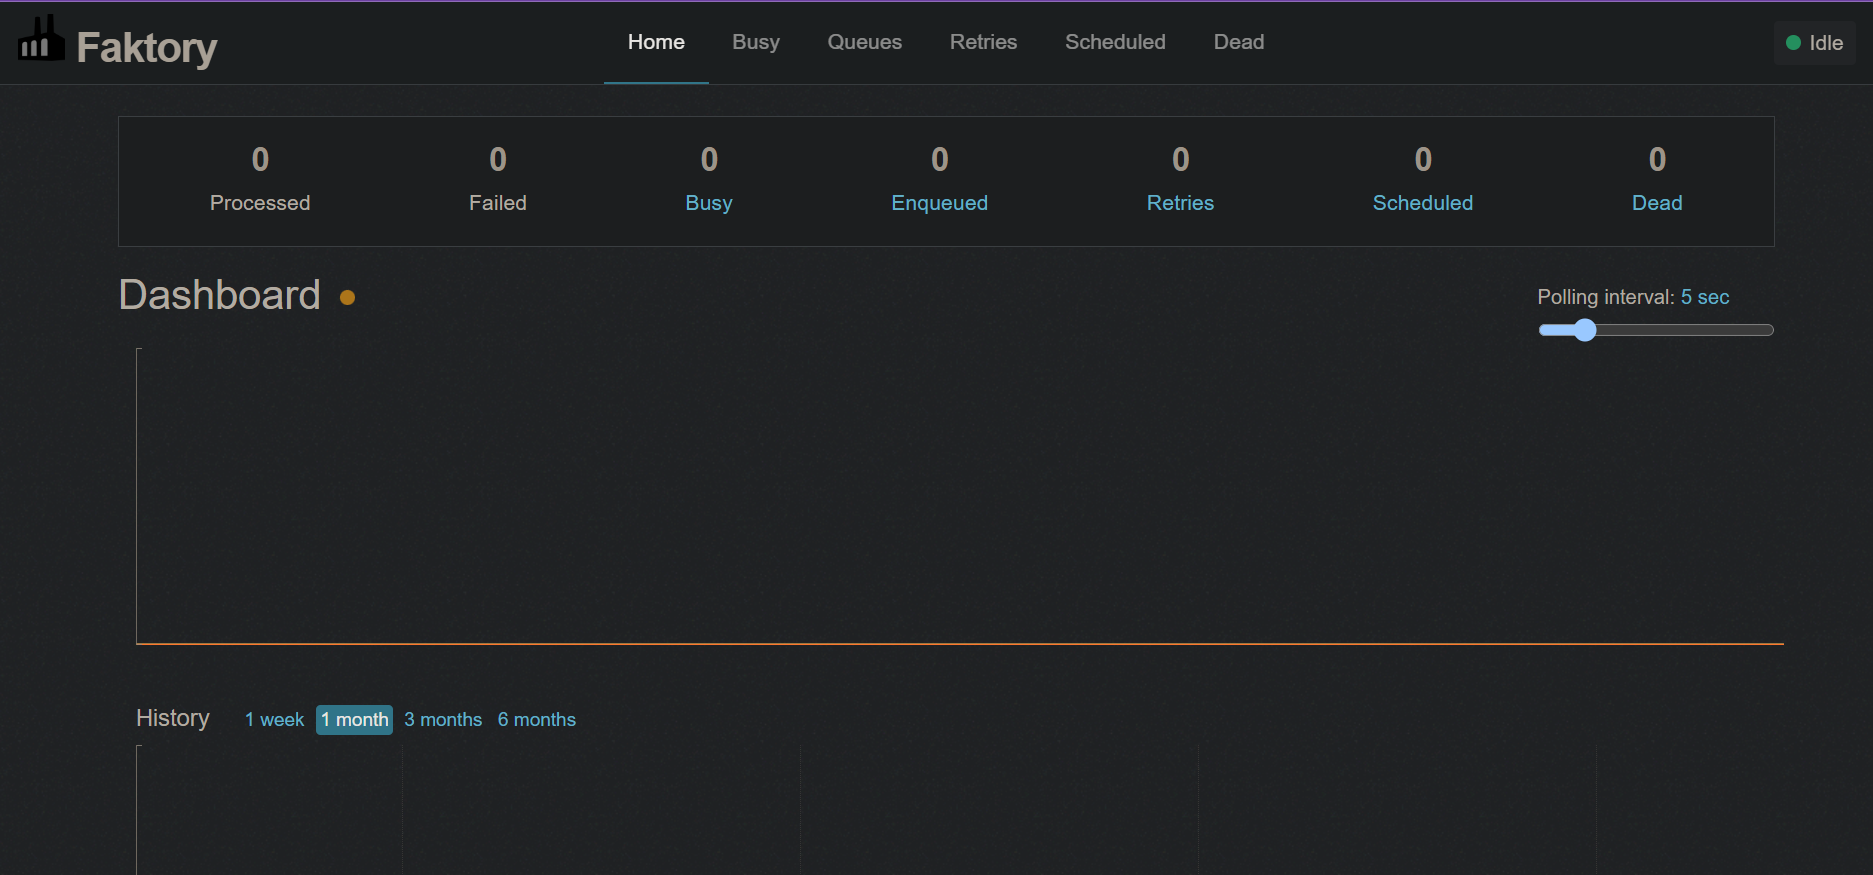
My recent queue foray put me on the scent of Faktory, a language-agnostic queue server made by Sidekiq's author. I noticed there wasn't a good PHP client (the one linked in the docs is pretty old), so I decided to build one.
Unlike application-based queue servers (like Sidekiq and what I built in my posts), Faktory runs as a standalone server, separate from your application. It uses its own internal storage, so you don't push jobs to Redis or a database. Instead, you talk to it via its exposed API.
First things first, I need to get Faktory running and be able to play with it manually before attempting to write code.
I followed the Docker installation instructions here:
 docker run --rm -it -p 127.0.0.1:7419:7419 \
   -p 127.0.0.1:7420:7420 \
   --name faktory contribsys/faktory:latest
Visited localhost:7420 on my machine, and all good.

Next: try to connect to see if I could push jobs to it. It took me a while to figure this out, because the docs had a page on Worker Lifecycle, but I thought that didn't apply to me because I merely wanted to push jobs, not retrieve and execute them. But I eventually realised it's the same process. Faktory's API works by sending messages over a long-lived TCP (not HTTP) connection. An easy way to do this in Linux is with netcat:
netcat 127.0.0.1 7419
Unfortunately, this didn't work for me. I eventually found the problem (Windows vs WSL mistake) and fixed it by correcting how I started the server:
- docker run --rm -it -p 127.0.0.1:7419:7419 \
+ docker run --rm -it -p 7419:7419 \
    -p 127.0.0.1:7420:7420 \
    --name faktory contribsys/faktory:latest
and connecting with
netcat -v $(hostname).local 7419
And voila!

When netcat is successful, it opens up a TCP session where you can send and receive messages. Sending a message is as simple as typing your message and hitting Enter.
The lines prefixed with + are messages from Faktory (it adds the + itself, they're not from netcat), while the other lines are my messages. Immediately you connect, the Faktory server sends you a HI message, and the worker has to (really quickly, because Faktory seems to use a low I/O timeout) respond with a HELLO and details about itself, and then Faktory replies with an OK.
The next test: let's see what queueing and fetching a job are like. Here's how my Faktory session went:
> netcat -v $(hostname).local 7419
Connection to dreamatorium.local 7419 port [tcp/*] succeeded!
+HI {"v":2}
HELLO {"hostname":"dreamatorium","wid":"test-worker-1","pid": 0, "labels":["testing"],"v":2}
+OK
PUSH { "jid": "123861239abnadsa", "jobtype": "SomeName", "args": [1, 2, "hello"] }
+OK
FETCH default
$185
{"jid":"123861239abnadsa","queue":"default","jobtype":"SomeName","args":[1,2,"hello"],"created_at":"2023-01-23T20:07:35.680248Z","enqueued_at":"2023-01-23T20:07:35.6805108Z","retry":25}
Essentially, I was able to PUSH a job (I didn't specify a queue, so it went to the default queue), and then FETCH the next available job from the default queue. (The $185 here is the length of the next line, which Faktory has to send, as part of the communication protocol.) This part is what Faktory does for you. The worker can then take care of deserializing and executing the job.
Thus far, we've seen three important technical requirements our client will need to handle:
- open a long-lived TCP session
- parse RESP messages. RESP is the (old) Redis protocol, which is the format Faktory messages are sent in.
- send RESP messages
Well, that was a nice start. We can take these as initial requirements for the client, in the next part. Here it is.
I write about my software engineering thoughts and experiments. Want to follow me? I don't have a newsletter; instead, I built Tentacle: tntcl.app/blog.shalvah.me.