I was bored, so I made my website into a Node package. Here's how.
Update: I've since revamped my site, moving on from the terminal design, but you can find that version here.
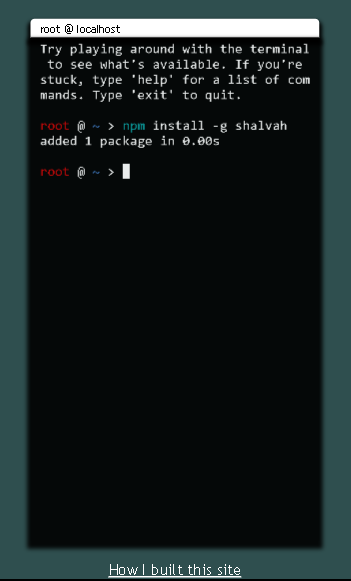
Aha, gotcha! You fell for the clickbait, sucker. Okay, time for me to quit playing around. The title of the article is actually true, with a few caveats. Here's my site in action:
This is going to be a bit of a long read, so if you're not up for it, here are the links you need:
Why did I do this?
I hate building websites.
Okay, that's a bit too strong. I write software for the web, but I dislike building sites. I prefer apps. I know, semantics.
But seriously, I hate worrying about the ins and outs of where this image should go or where that banner should go and where to place a bunch of links.
Hey, this doesn't mean I don't like beautiful sites. I do—especially when they're key to a whole ton of functionality.
I prefer web apps, websites that aren't just there to display information, but accept your input and do cool things with it. And I especially love working on their backends.
Just to show you how much I dislike websites, here's what the previous version of my site looked like:
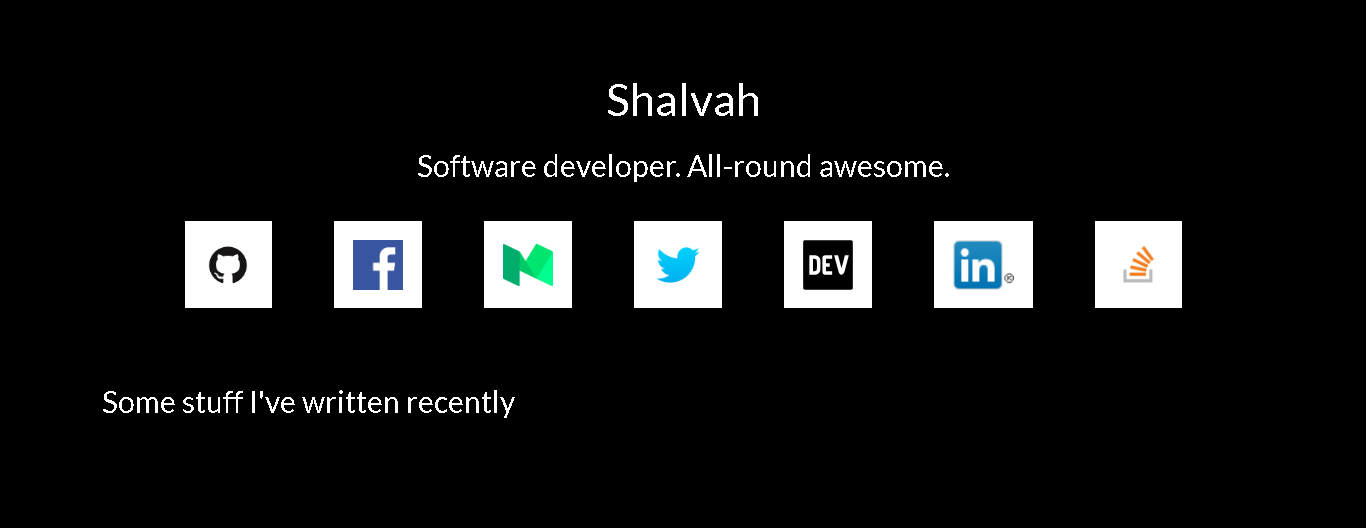
Yup, folks. That's it. Some text, a few icons. I guess you could say it looks decent, in a minimalist way. I was so desperate to throw some kind of engineering challenge in there, I added a hack to fetch and display some of my recent Medium articles.
I've been thinking of rebuilding my site for a while now, especially as I've been improving my frontend skills. But the prospect of doing another website bored me, so I asked, How can I make this into some kind of app?
You say over-engineering, I say po-tah-to.
Then I recalled I had tried to build a command-line UI with CSS and jQuery a few weeks back. Why not turn my website into a terminal? I've seen a couple of sites like that, and they were really cool. From there, I got to thinking, I've always wanted to build a CLI app, and so the next thought was Do it! Make it a CLI app which can also run in the browser! Yasss!
So I got to work.
The CLI tool
First, I knew I would be exposing the same functionality to both CLI and browser, so I started off with this in my src/shalvah.js (truncated for relevance):
const shalvah = {
    bio: "Hi, I'm Shalvah. I'm a backend software engineer based in Lagos, Nigeria.",
    prompt: 'Want to know more about me? Check me out on these sites:',
    links: [
        {
            name: 'GitHub',
            value: 'https://github.com/shalvah',
        },
        {
            name: 'dev.to',
            value: 'https://dev.to/shalvah',
        },
        {
            name: 'Twitter',
            value: 'https://twitter.com/theshalvah',
        }
    ],
    email: '[email protected]'
};

module.exports = shalvah;
This object holds all the information about me. Everything else in the website or CLI is just a way of presenting and interacting with this.
Then I began to write the CLI interface. I made use of three main tools:
- commander.js - for creating command-line apps
- inquirer.js - for creating interactive CLI prompts
- opn - well, for opening stuff from the terminal
In my package.json:
{
  "main": "src/shalvah.js",
  "bin": "cli.js"
}
main: The file I created earlier, so whenever you runrequire('shalvah'), you'll end up with that object. This is so I can wrap a browser UI (or whatever I choose, actually) around it.bin: The file that Node will link to as an executable. So when younpm install -g shalvah, and then you runshalvah, Node will execute this file.
So here's what goes in the cli.js (again truncated for relevance):
#!/usr/bin/env node
const program = require('commander');
const inquirer = require('inquirer');
const opn = require('opn');
const shalvah = require('./src/shalvah');

program.description('Shalvah in your command-line')
    .parse(process.argv);

console.log(shalvah.bio);
inquirer.prompt({
    name: 'link',
    type: 'list',
    message: shalvah.prompt,
    choices: shalvah.links
}).then(answers => {
    console.log(`Opening ${answers.link}`);
    opn(answers.link);
});
Pretty straightforward, eventually. Full-fledged CLI app in a few lines, thanks to these three awesome tools.
After that, all that was left to do was to publish the package to NPM, and then install it with npm install -g shalvah, and voila:
Building the website
This was a bit more involved. My intention was to install my NPM package, then create an index.js that would serve as the entry point for the browser, the way cli.js was the entry point for the CLI. The index.js would set up the terminal environment and send calls to the package. How did that go?
Well...
Creating a terminal UI
First thing I had to do was handle the terminal UI. I've recently been amping up my frontend skills, so I was tempted to do it myself. I decided to use a library in the end, because I realised I needed lots of stuff (such as event handlers and custom key handlers) that would take me time to write, test, and refactor. I also didn't have enough knowledge of how terminals, buffers and I/O streams worked.
I did some research, and the most viable option I could find was xterm.js. Xterm.js is a pretty powerful terminal emulator for the web. Unfortunately, its documentation is in dire need of work, so it took me quite a while to figure out how to use it. Also, it comes with support for a lot of features, but many things are implemented at a low level, so I had to write custom handlers around those.
Porting the console to the browser
Next thing I thought was, I really like the Inquirer.js prompts I got on the console. I'd like to have those on the site, too. Again, the options were: code yours or find a library. Again I went with the library option, for the same reasons. I decided to use the same libraries I had used for the CLI (Inquirer.js and Commander) in the browser.
A few challenges I faced:
How do I use packages designed for the command-line in the browser?
Here, Browserify came to the rescue. In case you're not familiar, Browserify is a great tool that allows you to use Node packages in the browser. It also provides "shims" ( a shim is like a fake) for Node things like process and __dirname.
Plugging in Commander
This was relatively easy because its API expects you to pass in the command line arguments (usually process.argv). On the command line, running shalvah help would populate process.argv with something similar to['/usr/bin/node', 'shalvah', 'help'], so in the browser I did:
commander.parse([''].concat(args));
Integrating Inquirer.js
This was a bigger problem. Its code reads and writes mostly to process.stdout/process.stdin, which are instances of Readline.Interface. The good news here was that:
- The library depended on behaviour (the existence of certain methods), not inheritance (
x instanceof Readline.Interface), and - Xterm.js already supported most of readline's functionality. I wrote a shim that pretended
xterm.jswas an instance of the interface, then I used the aliasify transform for Browserify to replace thereadlinethat Inquirer expected with mine. A simplified version of the shim looked like this:
module.exports = {
  createInterface({ input, output }) {
      // so we don't redefine these properties
      if (input.readlineified) {
          return input;
      }
      // normally, input and output should be the same xterm.Terminal instance
      input.input = input;
      input.output = input;
      input.pause = function () {};
      input.resume = function () {};
      input.close = function () {};
      input.setPrompt = function () {};
      input.removeListener = input.off.bind(input);

      Object.defineProperty(input, 'line', {
          get: function () {
              return input.textarea.value;
          }
      });
      input.readlineified = true;
      return input;
  }
};
Xterm.js already has a write function, so there was no need to define that.
I also had to do some very specific shims:
    // The most important shim. Used by both Commander and Inquirer.
    // We're tricking them into thinking xterm is a TTY
    // (see https://nodejs.org/api/tty.html)
    term.isTTY = true;


    // Xterm is both our input and output
    process.stdout = process.stdin = process.stderr = term;

    // Shim process.exit so calling it actually halts execution. Used in Commander
    process.exit = () => {
        term.emit('line-processed');
        throw 'process.exit';
    };
    // catch the process.exit so no error is reported
    window.onerror = (n, o, p, e, error) => {
        if (error === 'process.exit') {
            console.log(error);
            return true;
        }
    };

    // For inquirer.js to exit when Ctrl-C is pressed (SIGINT)
    process.kill = () => {
        process.running = false;
        term.writeln('');
        term.writeThenPrompt('');
    };
Sizing the terminal appropriately
Another challenge I faced was sizing the terminal so it looked good on both desktop and mobile, without any ugly scrollbars. Here's how I wanted it to look on mobile:
It was a bit tough to get this done because the terminal window's sizing is affected by not only the CSS rules but the number of rows and columns per line, which are affected by the font size. This was very tricky. If the number of columns was even 1 unit too large, you'd get a scrollbar. After doing some research and playing around with lots of approaches, I settled on this:
    const term = new Terminal({
        cursorBlink: true,
        convertEol: true,
        fontFamily: "monospace",
        fontSize: '14',
        rows: calculateNumberOfTerminalRows(),
        cols: calculateNumberOfTerminalCols(),
    });

    // This measures the height of a single character using a div's height
    // and uses that to figure out how many rows can fit in about 80% of the screen
    function calculateNumberOfTerminalRows() {
        let testElement = document.createElement('div');
        testElement.innerText = 'h';
        testElement.style.visibility = 'hidden';
        document.querySelector('.term-container').append(testElement);
        testElement.style.fontSize = '14px';
        let fontHeight = testElement.clientHeight + 1;
        testElement.remove();
        return Math.floor(screen.availHeight * 0.8 / fontHeight) - 2;
    }

    // This measures the width of a single character using canvas
    // and uses that to figure out how many columns can fit in about 60% (80% for mobile) of the screen
    function calculateNumberOfTerminalCols() {
        const ctx = document.createElement("canvas").getContext('2d');
        ctx.font = '14px monospace';
        const fontWidth = ctx.measureText('h').width + 1;
        const screenWidth = screen.availWidth;
        return Math.floor(screenWidth * ((screenWidth > 600) ? 0.6 : 0.8) / fontWidth) + 3;
    }
It might seem a bit over-engineered, but this was the most reliable method I could come up with.
Colour support
I wanted colours in my terminal (who doesn't?), and the program used for that was chalk. Unfortunately, chalk didn't seem to work with Xterm.js, so after a few hours of debugging, I figured out the problem was from an external dependency chalk used to detect colour, so I replaced it with my shim:
module.exports = {
    stdout: {
        level: 2,
        hasBasic: true,
        has256: true,
        has16m: false
    }
};
Switching prompts on mobile
You'll notice that in my earlier examples that I used an Inquirer prompt called list, which allows you to use arrow keys to select a choice. On mobile, though, there are typically no arrows keys. So I had to switch to the rawlist prompt on mobile (which uses number inputs):
    inquirer.prompt({
        name: 'link',
        type: (screen.width > 600) ? 'list' : 'rawlist'
});
Many long hours later and the terminal finally works!
Was it worth it?
Overall, it was a stressful but fun experience for me, and I learnt a lot of new stuff. This was my first time working with, or even learning about, most of what I've described here, so that's a win. I was even eventually able to throw in some basic Unix utilities like cd and ls (try them! 😁😁)
There are still a couple of bugs, especially on mobile, but I got tired of waiting until everything was perfect, and went ahead to publish this. Hope you like it!
I write about my software engineering thoughts and experiments. Want to follow me? I don't have a newsletter; instead, I built Tentacle: tntcl.app/blog.shalvah.me.
